Showing posts with label Work Bench. Show all posts

Tuesday, June 17, 2014

Woodwright Workout

Seeing as I am an overambitious, yet obessively compulsive, woodworker I recently found myself in an uphill battle with a massive slab of oak. The bench in the shop at work has been used and abused for as long as I have been alive. Word on the street is that it hasn't even been flattened since it was first built...so I took the liberty of flattening it myself.

20+ years of grime, sweat, and I am pretty sure some blood.

I started going transversely with the grain with a flat iron and things were going well, that was until I reached the far left hand side of the bench, which has been used as the sharpening station for quite a while. All that oil, metal particles, sandpaper grit, rust, and god knows what else really sunk into the wood because after five strokes my iron was dull as a doorknob.

Windows open with a nice cooling breeze, I can think of a lot worse things to be doing.

Switching to a heavily chambered iron sped things up considerably, and even when the iron dulled, the heavy chamber helped to muscle through with the initial planing. After one pass I switched to 45 degrees with the grain, pushing the plane body at a skewed angle helped slice through some of the rough grain and knots.

Getting a bit closer, you can see the scalloped track marks from the last flattening.

I finished up going with the grain (as best I could) and planing the front of the bench to be square with the top. Overall it was an exhausting project...most people aren't stupid enough to flatten a knotty, old, 16 FOOT!!! workbench their first time around the block, but I am just the right kind of stupid.

There is still plenty of character in this bench, but now you can use it reliably to try boards!

So if you are ever looking for a new workout routine, I would recommend going into the massive workbench flattening business.

My workhorse plane, I might follow up with a longer jointer in the future, but I am not sure it is necessary.

PS. I am just being melodramatic...it really only took about two hours and one sweaty t-shirt, and that included re-honing my iron twice.


Monday, September 9, 2013

The Schwarz-Follansbee Complex

A few months back Chris Schwarz posted a string of blogs (here, here, and here) about "Roman Style" workbenches. I initially passed them off as a novel form of workbench, and figured it would be interesting to see what he did with his ideas of reviving these early workbench vernacular forms (that's right, I bought a thesaurus).

Pompeii Workbench, circa 50AD

Flash forward to last week and Peter Follansbee tells me that he is making some benches out of the oak flitches we had left over from some band sawing we had done for the "Big Fence" Project. I again thought nothing of what Peter had said...that was until I saw what the benches looked like.

A very familiar looking form

Instantly I thought back to the spindly legged workbenches that Chris had written about with slab tops and holes for holdfasts and planing stops. The two forms, deriving from two seemingly opposite origins, shared a shockingly similar appearance, in fact, they were so similar that I almost grabbed a brace and bit, bored a couple of holes in Peters bench, and took it for a test spin.

Needless to say I did not actually go through with this plan, for starters Peter would not be too happy to have me putting holes in his benches, and secondly I need to do some hardcore research into 17th century work holding and whether or not the "Roman" form was still in use by agricultural societies...like English planters in New England...say around 1627. Off to the archives!

Research will probably look something like this...

PS. I am pretty sure Chris and Peter are in cahoots. Kind of the ebb and flow of the hand tool world. They pretend as though they butt heads, but really they are masterminding the greatest renaissance since....well the renaissance. St. Roy probably has something to do with this as well.

Thursday, September 5, 2013

I won't tell if you won't tell

So the other week at the museum we cheated a little bit on our material preparation. We have a prolific palisade project (alliteration not intended...but intended) over the summer with a very definite deadline and as a result we have been hewing posts and splitting pale like madmen. Our total goal is 27 hand hewn posts, 33 sawn rails, and about 400 pieces of pale. On top of these staggering numbers we are also one carpenter down (no worries, no one was hurt) so the rest of us are picking up the slack.

This is our running tally of logs hewn and logs split...we are getting there! 
 
As a result of this massive material manufacturing marathon (see what I did there) we have little time to learn pit sawing and even less time to actually pit saw all of the rails that we will need for the project. Enter the band saw mill! It does pain my heart a little bit to see band sawn rails going into the project after so much sweat has been put into traditional techniques, but sometimes economy outweighs authenticity. Luckily the band saw mill was one of the coolest pieces of machinery that I have ever seen (GASP! That isn't very woodwright sounding).

Nothing miserly about this rig, Bob the owner really knows what he is doing.
 
This bad boy could take logs over 24" in diameter and spit out slabs of any size. It lifts the logs into place, rotates them into the correct orientation, adjusts the table to compensate for tapering at the bell, and clamps the piece firmly for sawing...hell I am sure it probably makes your lunch if you have the right attachment.

Some finished rails...so maybe it is a little easier than pit sawing

We were aiming for 3-1/2" x 5-1/2" for our rails, so we had to start with some pretty massive slabs around 15"x6" (eat your heart out Mr. Schwarz and Monsieur Roubo).
 
If only we could have stopped here...and opened a workbench building business.
 
Some of the white oak we were sawing was absolutely gorgeous, and we joked that it was a crime that we were sawing it up just to rot away on a fence that would be keeping away imaginary Narragansett's.
 
Absolute gorgeous grain.

The best part of the whole day, was that the "waste" from the band sawing were some pretty decent slabs of white oak, some of which were upwards of 4" x 10" in cross section.

The slab laying aside is the "Scrap"

So as any self respecting hand tool enthusiast would do, I grabbed a chainsaw and some Elmer's glue and stickered up this "scrap" to set aside and dry...for the next three years...in hopes that I can build a bench...as long as it doesn't check...or warp...or...well you get my point.

All stickered up...I should probably go do something while this dries

Along with the slabs of oak we had a whole bunch of really big 12 foot long flitches from the outsides of the logs...but that is a story for a different time!

Monday, March 11, 2013

Say That Again

Introducing the really cheap Clueless Woodwright's version of the Close Grain School of Woodworking workbenches inspired by Paul Sellers' adaptation of the traditional English workbench design. Confused? Me too, and I'm building the dang thing.

So as I get more into hand tool woodworking it has become abundantly clear that I need a traditional style workbench. However, my workshop is tiny...in fact tinier than my tool budget if you can believe it. So a massive oak Roubo bench with the latest and greatest vise hardware is kind of out of the question. As a result I took to the web to find a low cost, small space, fast build time bench design that I could make within my budget so that I can get onto woodworking.

Richard from Maguire Workbenches made this amazing English style bench

As it turns out I found the Close Grain School of Woodworking, which is actually in Pepperell, MA (a hop, skip, and a jump away from Groton). Steve Brennan, the founder and instructor at the school, had a post about his low cost, easy to build workbenches based on Paul Sellers' designs. The benches were made from construction grade lumber (which means Spruce or Fir in New England) and had a single face vise.

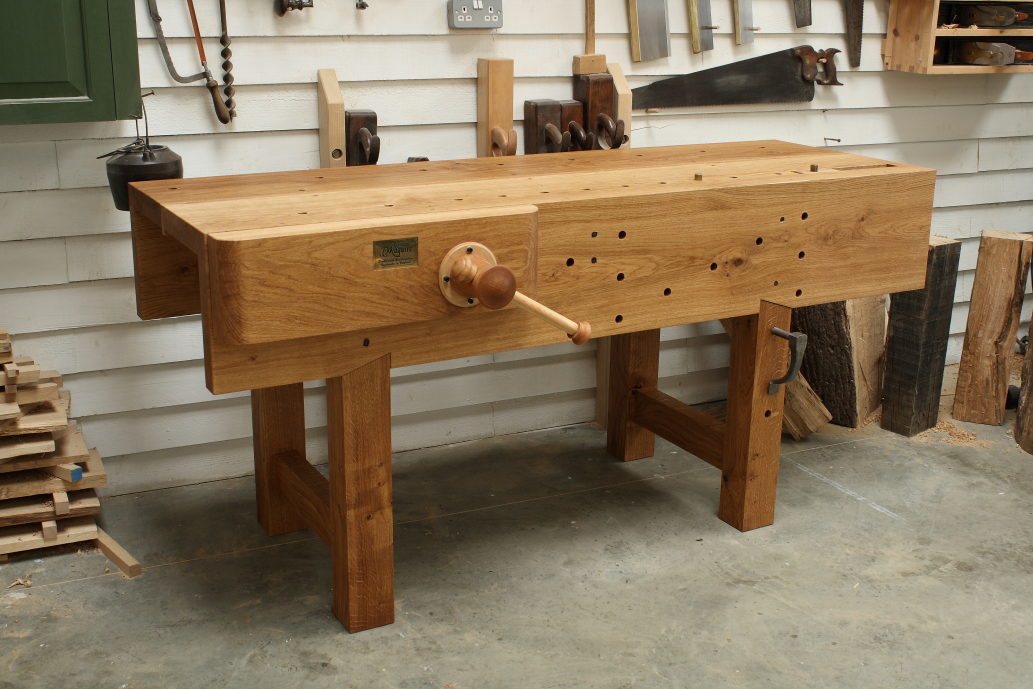
Steve Brennan's finished workbench for his school

So being the delinquent engineer that I am, I immediately took to Solidworks to sketch out a basic plan for my bench design. I made some adjustments to the Close Grain workbench, mainly a beefier tool tray with dust ramps and some bread board type end caps that would help keep everything together in the long run (hopefully).


Rough model of the workbench. 54" L x 23" W x 29" H (Yes I am that short)

The next day I ran to the lumber yard, before The Boss could talk me out of it, and bought $63 worth of knotty, twisted Spruce 2x4s, 2x6s, and 2x8s (I shudder to think that these were the best specimens in the yard!). Also, that night I went online and ordered the cheapest face vise that I could find as well as a pair of Gramercy holdfasts.

Face vise and holdfasts. As you can see my current workbench is lacking!

There is no turning back now, so next there will be a lot of laminations, exclamations, and frustrations before the bench is done. And don't judge me and say things like "it is really worth it to get a nice vise, and quality lumber" blah, blah, blah. My very objective is to build the cheapest, fastest bench possible so that I can get to woodworking and develop the real skills and tools that I will need to build my next workbench, which I promise will have no less than $500 worth of vise hardware and 300lbs of hardwood.